
In today’s social media era, knowing how to snap the perfect food photo is a basic skill, whether you’re a food blogger, aspiring influencer, or someone who simply enjoys sharing culinary creations with friends. The good news is, you don’t need an expensive camera to create gorgeous food photos; your mobile phone can do the job just fine. In this guide, we’ll walk through key concepts and techniques that will help you elevate your food photography game using nothing more than your trusty smartphone.
1. Understanding Your Camera Settings
Most smartphones today come equipped with advanced camera settings. Before diving into the creative aspects, it’s important to familiarize yourself with your smartphone’s camera settings. Here’s a quick rundown of the key terms:
- Exposure: Controls how much light reaches the camera sensor. Adjust by tapping the screen and sliding your finger up or down. Aim for well-lit but not overexposed food.
- ISO: Determines light sensitivity. Use low ISO (e.g., 100) in bright light to avoid grain; increase slightly in low-light conditions but watch out for noise.
- White Balance: Adjusts color temperature. Different lighting (daylight, tungsten, fluorescent) affects tones. Use presets like “Daylight” or “Cloudy” to maintain accurate colors.
2. The Power of Natural Light
Lighting is the foundation of any good photograph, and food photography is no exception. Natural light is your best friend for vibrant, appetizing images.
- Positioning: Place your dish near a window with soft, diffused light. Avoid using flash to prevent harsh shadows.
- Time of Day: The golden hour (after sunrise or before sunset) provides the best warm, soft lighting. Avoid harsh midday sun.
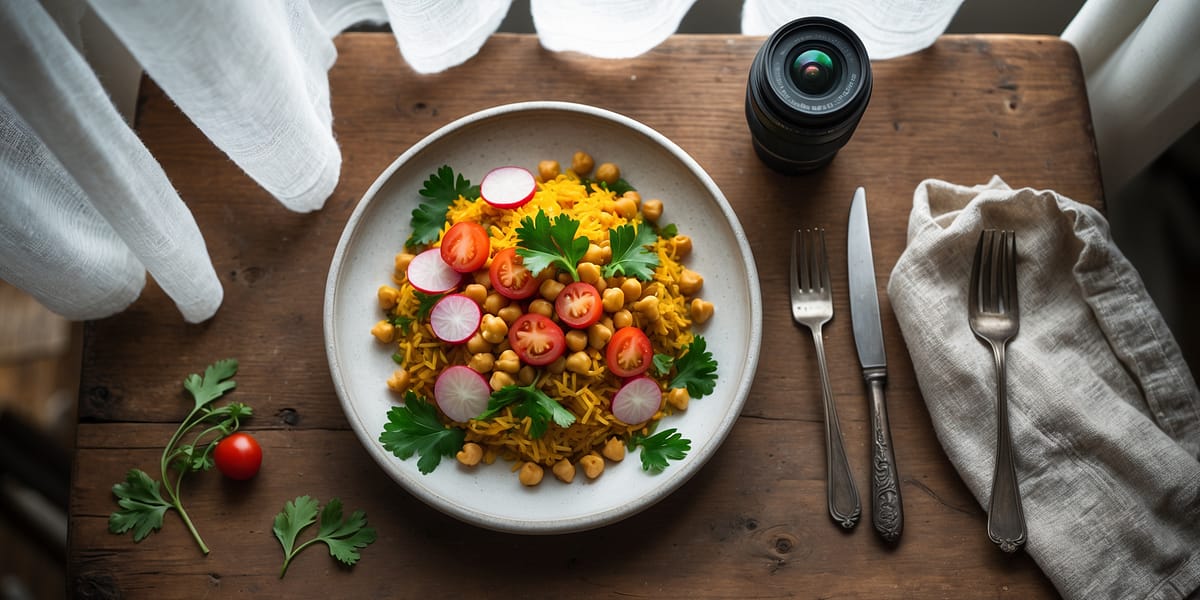
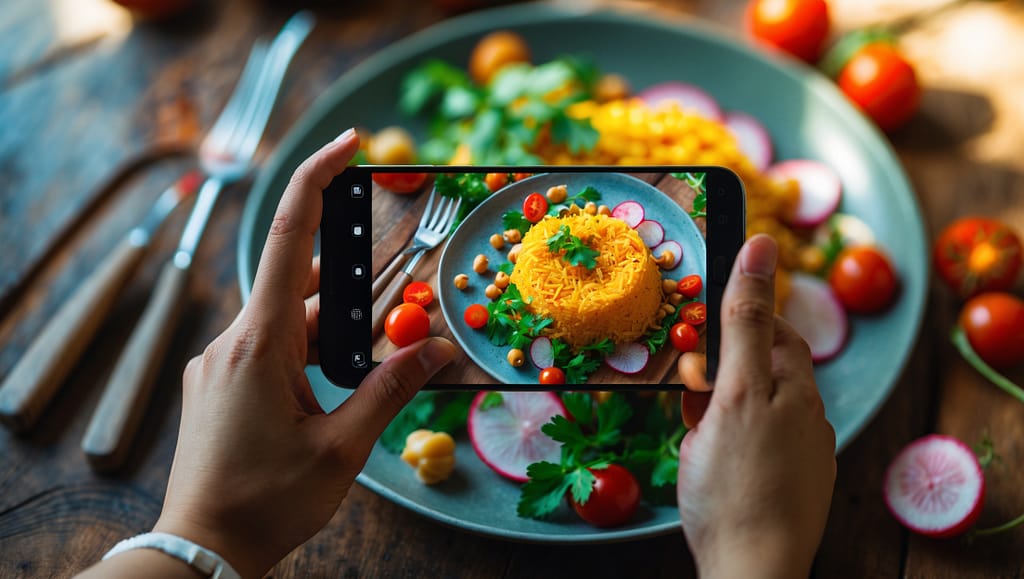
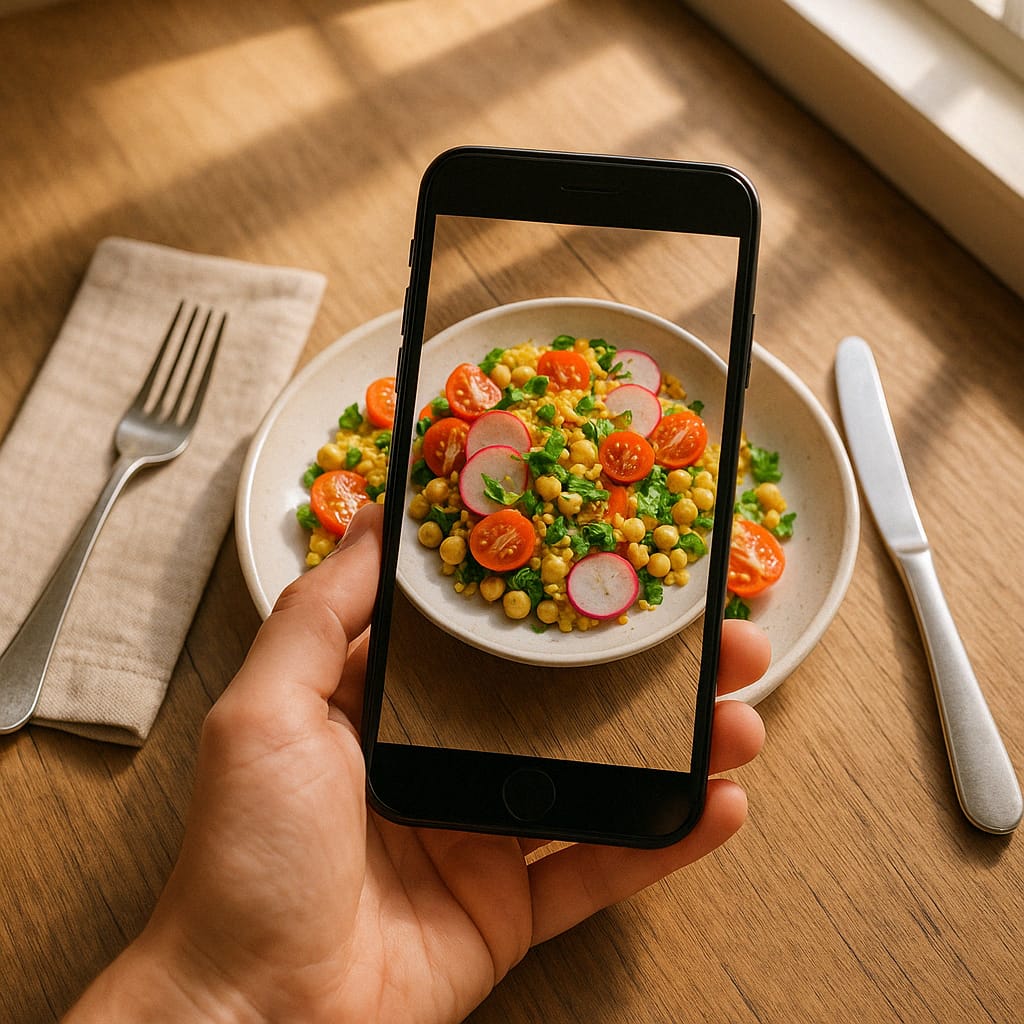
3. Mastering Composition
Composition is about how you arrange the elements within your frame. A well-composed photo draws attention and tells a story.
- Rule of Thirds: Use your phone’s grid lines. Place key elements along the lines or intersections for visual balance.
- Angle of View:
- Top-Down: Great for flat dishes like salads or table spreads.
- 45-Degree Angle: Mimics how we see food when sitting; ideal for layered dishes like burgers or cakes.
- Eye-Level: Adds intimacy; good for tall items like drinks or desserts.
- Negative Space: Empty space can draw focus to your dish and keep the frame clean.
4. Choosing the Right Background and Props
The background and props enhance the mood and storytelling of your shot.
- Backgrounds: Stick to neutral tones like white, wood, or marble to avoid distractions.
- Props: Use minimal, complementary items such as utensils, ingredients, or cloth napkins to support the main subject.
5. Don’t Forget to Focus
Focus is key to creating a sharp, engaging image. Tap on your subject to adjust the focus manually. This is especially important in close-up food shots where detail matters.
Double-check that the main subject—whether it’s a juicy steak or a delicate tart—is in sharp focus. A blurred image can ruin an otherwise beautiful setup.
6. Editing Your Photos
Editing helps you refine your photos and make them pop.
- Use Editing Apps: Try Lightroom, Snapseed, or VSCO for mobile editing.
- Color Correction: Use white balance tools to fix color casts and adjust temperature for warmth or coolness.
- Enhance Details: Sharpen slightly, boost clarity, and adjust brightness/contrast to taste.
- Cropping: Improve framing and remove distractions. Re-align your image to match rule of thirds if needed.
7. Practice Makes Perfect
The best way to improve your mobile food photography is through consistent practice. Experiment with lighting, angles, and styling. Over time, you’ll develop your eye and build a signature style.
With a little practice and creativity, your mobile phone can become a powerful tool for capturing stunning food photos. By understanding the basics of camera settings, leveraging natural light, mastering composition, and carefully editing your images, you can create mouth-watering photos that will impress your audience.
So, pick up your phone, head to the kitchen, and start capturing the beauty of your culinary creations!


Comments
Be the first to comment on this article.